Contact
Line : comsiam
Contact
Line : comsiam

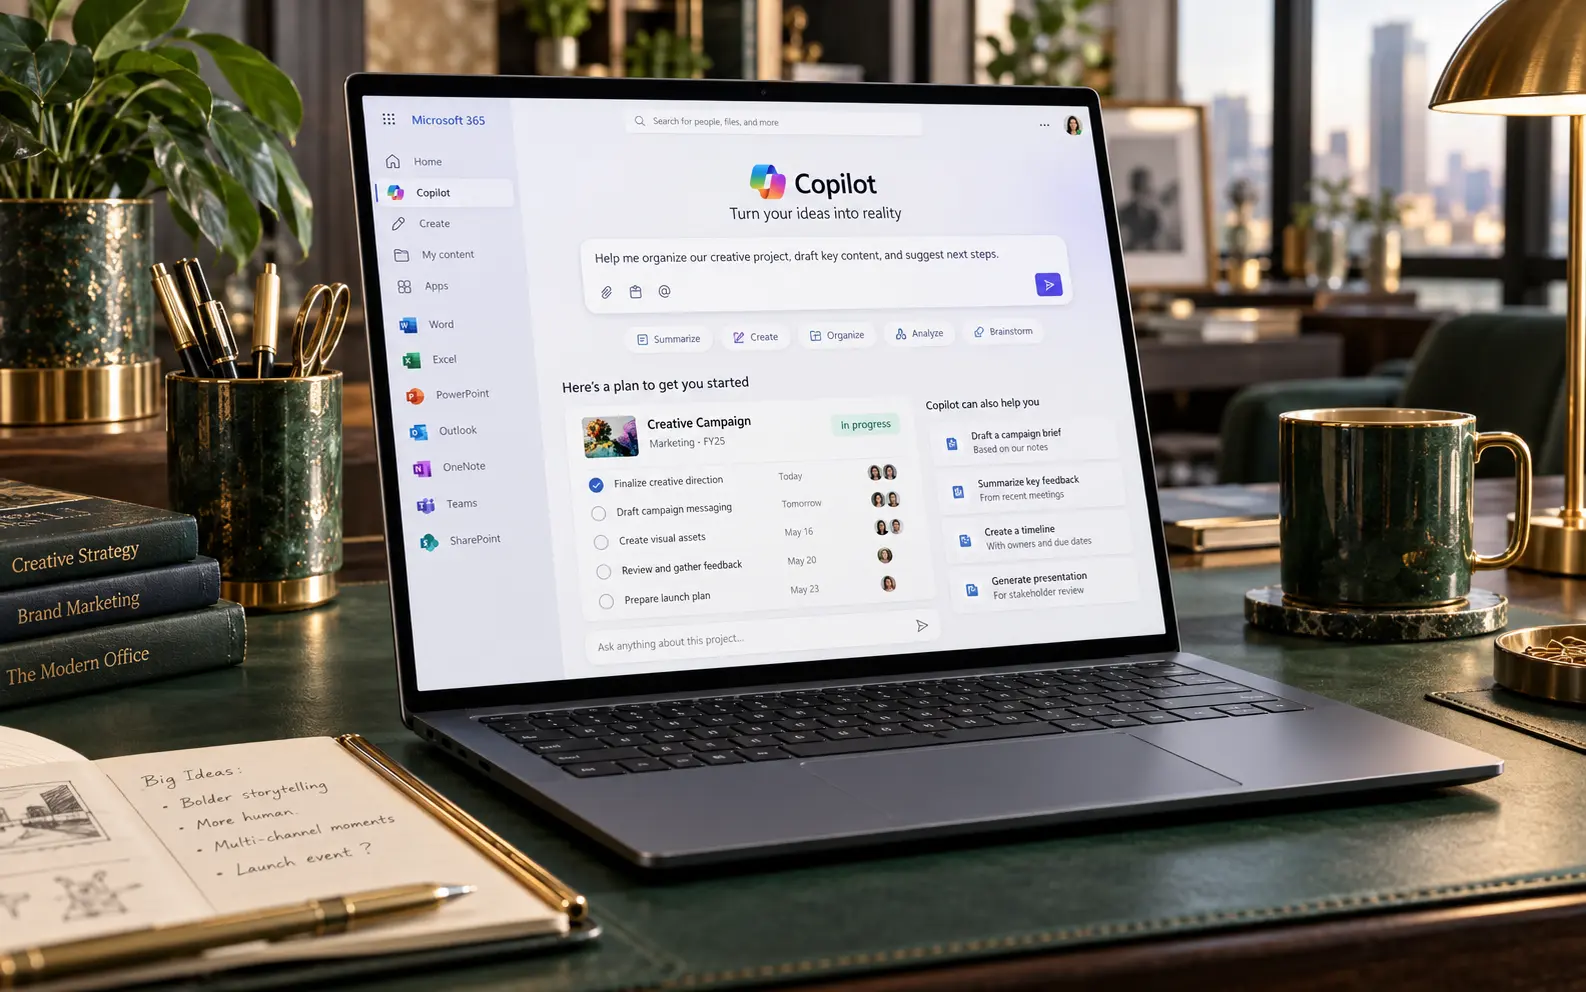
การเขียน Prompt เพื่อสร้างภาพใน Microsoft Copilot ให้ได้ผลลัพธ์ใกล้กับภาพที่คิดไว้ ควรระบุให้ชัดอย่างน้อย 4 ส่วน ได้แก่ สไตล์ของภาพ แสง มุมกล้อง และฉาก
ถ้าสั่งเพียงว่า “สร้างภาพผู้ชายกำลังทำงานหน้าคอมพิวเตอร์” ผลลัพธ์อาจเปลี่ยนไปได้มาก เพราะยังไม่รู้ว่าเราต้องการภาพแบบสมจริง การ์ตูน 3D หรือ Cinematic ไม่รู้ว่าเป็นกลางวันหรือกลางคืน ไม่รู้ว่ากล้องอยู่ตำแหน่งไหน และไม่รู้ว่าสถานที่ควรเป็นสำนักงานหรือห้อง Server
สูตรที่ควรจำคือ:
Subject + Style + Lighting + Camera + Scene + Composition + Mood
ตัวอย่าง:
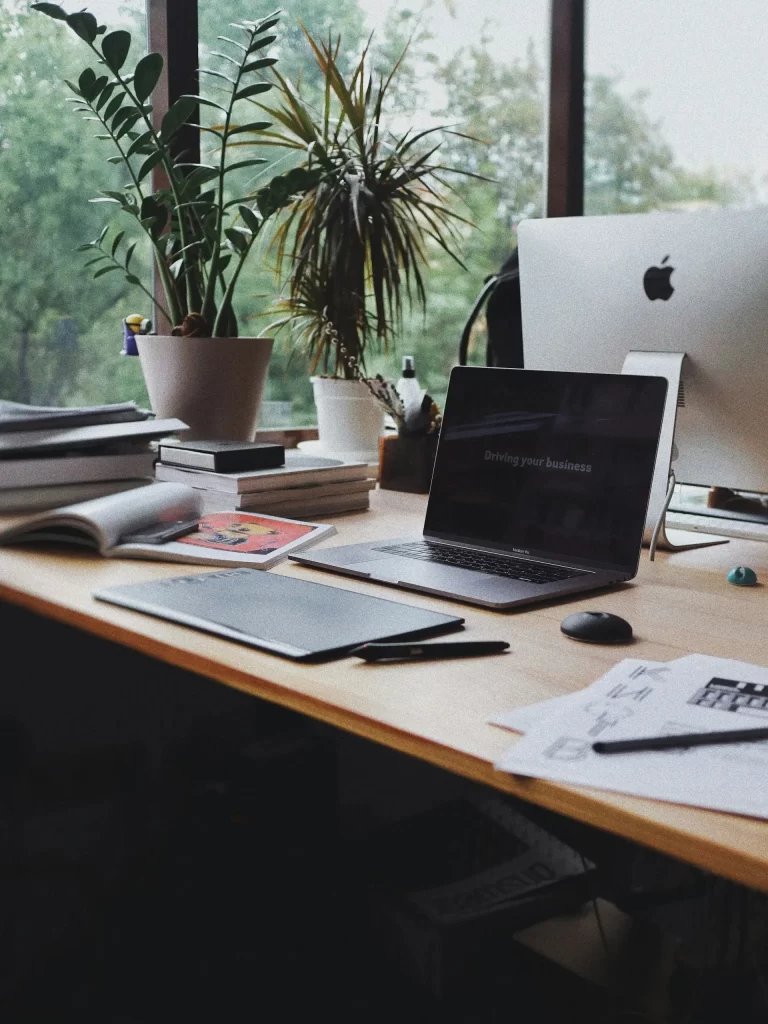
“สร้างภาพ Photorealistic ของผู้ชายวัยทำงานกำลังใช้คอมพิวเตอร์ Desktop ในสำนักงานสมัยใหม่ ใช้ Soft Natural Light จากหน้าต่างด้านซ้าย มุมกล้อง Eye Level แบบ Medium Shot ฉากหลังเป็นสำนักงานสีเทาและน้ำเงิน เบลอเล็กน้อย ให้ Mood Professional และ Modern”
Style คือรูปแบบภาพโดยรวม
ตัวอย่าง:
การระบุ Style ตั้งแต่ต้นช่วยให้ Copilot เข้าใจ Direction ของภาพได้เร็วขึ้น
เหมาะกับภาพที่ต้องการให้ดูเหมือนถ่ายด้วยกล้องจริง
ตัวอย่าง Prompt:
“Photorealistic office scene with natural lighting and realistic materials”
เหมาะกับ:
เหมาะกับภาพที่ต้องการอารมณ์แบบภาพยนตร์
มักใช้:
ตัวอย่าง:
“Cinematic server room with dark blue lighting and realistic reflections”
เหมาะกับ:
ใช้:
อาจใช้:
เหมาะกับสินค้า Premium
เหมาะกับ AI และ Technology
แต่ควรระวังไม่ใส่:
มากเกินไป ถ้าต้องการภาพสมจริง
เหมาะกับ:
ช่วยอธิบายแนวคิดที่ถ่ายภาพจริงได้ยาก
เหมาะกับ:
ควรระบุ Material และ Lighting ให้ชัด
ตัวอย่าง:
“Photorealistic watercolor cartoon 3D”
ทำให้ Direction สับสน
ควรเลือก Style หลักหนึ่งแบบก่อน
ตัวอย่าง:
“Photorealistic with cinematic lighting”
สองอย่างนี้ทำงานร่วมกันได้ดี
เพราะ Style หลักยังเป็นภาพถ่าย แต่ Lighting มี Mood แบบภาพยนตร์
Lighting คือแสงในภาพ
แสงมีผลต่อ:
ดังนั้นคำว่า “แสงสวย” ยังไม่ละเอียดพอ
เหมาะกับ:
Prompt:
“Soft natural daylight from a large window”
ช่วยให้ภาพดูเป็นธรรมชาติ
Soft Light ให้เงานุ่ม
เหมาะกับ:
ตัวอย่าง:
“soft diffused light with gentle shadows”
Hard Light ให้:
เหมาะกับภาพที่ต้องการความ Dramatic
แสงจากด้านข้างช่วยเน้น:
Prompt:
“soft side lighting from the left”
Backlight คือแสงจากด้านหลัง Subject
ช่วยสร้าง:
ตัวอย่าง:
“warm backlight around the subject”
นิยมใช้กับสินค้า Technology
Prompt:
“subtle blue rim light around the product edges”
ช่วยแยกสินค้าออกจากพื้นหลัง
ทำให้ Subject อ่านง่าย
เหมาะกับ:
แต่ถ้าแสงตรงเกินไป ภาพอาจแบน
เหมาะกับ Outdoor
ให้:
ตัวอย่าง:
“warm golden-hour sunlight”
เป็นช่วงก่อนพระอาทิตย์ขึ้นหรือหลังพระอาทิตย์ตก
ให้ Mood:
เหมาะกับ:
เหมาะกับ Product Photography
ตัวอย่าง:
“soft studio lighting with controlled reflections”
ช่วยควบคุมสีและวัสดุได้ดี
ภาพจะ:
เหมาะกับ:
ภาพจะ:
เหมาะกับ Technology หรือ Automotive
แทน:
“ใช้ Soft Light”
ลอง:
“ใช้ Soft Light จากด้านซ้ายและมี Fill Light เบา ๆ ทางขวา”
ช่วยให้ Copilot เข้าใจโครงสร้างแสงดีขึ้น
ตัวอย่าง:
Prompt:
“neutral white main light with subtle blue accent light”
ช่วยควบคุม Mood
ถ้ามี:
พร้อมกัน อาจทำให้ภาพดูแฟนตาซีเกินไป
โดยเฉพาะภาพ Product หรือ Corporate
Camera Angle คือมุมที่กล้องมอง Subject
มีผลต่อ:
ควรระบุเมื่อต้องการควบคุม Composition
เป็นมุมที่ดูธรรมชาติ
เหมาะกับ:
Prompt:
“eye-level camera angle”
กล้องอยู่ต่ำกว่า Subject
ช่วยให้ดู:
เหมาะกับ:
กล้องอยู่สูงกว่า Subject
เหมาะกับ:
กล้องมองจากด้านบนตรง ๆ
เหมาะกับ:
Prompt:
“top-down flat lay composition”
นิยมกับสินค้า
เพราะช่วยเห็น:
พร้อมกัน
เหมาะกับ:
เน้นความชัดและสมมาตร
เหมาะกับ:
ช่วยแสดงรูปทรงด้านข้าง
เหมาะกับภาพ:
Prompt:
“over-the-shoulder view of a person using a laptop”
ช่วยให้เห็นทั้งผู้ใช้และหน้าจอ
POV ทำให้ผู้ชมเหมือนอยู่ในเหตุการณ์
ตัวอย่าง:
“POV of hands typing on a laptop”
เหมาะกับ:
โฟกัสรายละเอียด
เช่น:
Prompt:
“close-up product detail shot”
เหมาะกับ:
สมดุลระหว่าง Subject และ Scene
ช่วยให้เห็น Environment
เหมาะกับ:
เหมาะกับรายละเอียดเล็กมาก เช่น:
ควรใช้เมื่อรายละเอียดเป็น Intent หลักของภาพ
Camera Angle:
ตำแหน่งกล้อง
เช่น:
Low Angle
Shot Size:
ระยะภาพ
เช่น:
Close-up
จึงสามารถใช้ร่วมกันได้:
“Low-angle medium shot”
สามารถเพิ่มความรู้สึกของ Lens ได้
ตัวอย่าง:
ช่วยกำหนด Perspective เพิ่ม
เหมาะกับ:
ช่วยเห็นพื้นที่กว้าง
แต่คนใกล้ขอบภาพอาจดูบิดถ้าใช้งานมากเกินไป
เหมาะกับคน
ให้ Perspective ที่ดูเป็นธรรมชาติ
และสามารถสร้าง Background Blur ได้ดี
เหมาะกับ:
ช่วยเน้นรายละเอียดเล็ก
Depth of Field คือช่วงที่ภาพชัด
Prompt:
“shallow depth of field”
หมายถึง:
Subject ชัด Background เบลอ
เหมาะกับ:
ถ้าต้องการให้:
ชัดทั้งคู่
ใช้:
“deep depth of field”
เหมาะกับ Architecture หรือ Room
Scene คือสถานที่และสิ่งแวดล้อมในภาพ
ตัวอย่าง:
Scene ควรสัมพันธ์กับ Subject
อาจประกอบด้วย:
Prompt:
“modern professional office with clean desks and large windows”
Prompt:
“realistic server room with black racks, structured cabling and practical overhead lighting”
เหมาะกับ:
ช่วยให้ภาพดู:
อาจมี:
เหมาะกับ Product
Background สามารถควบคุมง่าย
เช่น:
เหมาะกับภาพ Technology ระดับ Enterprise
ควรใช้:
อย่างพอดี
เหมาะกับ:
ช่วยสร้าง Context
เหมาะกับ:
ให้ Mood Casual มากกว่า Corporate
เหมาะกับ:
ช่วยแสดงสินค้าในบ้านจริง
ควรระบุ:
ตัวอย่าง:
“city street after rain at sunset”
ชัดกว่า:
“outside”
อาจใช้:
“clean neutral studio with no distracting objects”
เหมาะกับ:
Scene คือบริบทโดยรวม
Background คือสิ่งที่อยู่ด้านหลัง Subject
สามารถสั่ง:
“Scene เป็น Office แต่ Background เบลอ”
ได้
Foreground ช่วยเพิ่ม Depth
เช่น:
Prompt:
“subtle blurred foreground object for depth”
ช่วยให้ภาพเหมือนถ่ายจริงมากขึ้น
Composition คือการจัดวาง Subject ใน Frame
ตัวอย่าง:
มีผลต่อการใช้งานภาพอย่างมาก
เหมาะกับ:
Subject อยู่กลาง อ่านง่าย
วาง Subject บริเวณหนึ่งในสามของภาพ
ช่วยให้ Composition ดูเป็นธรรมชาติ
เหมาะกับ:
เหมาะกับ:
ให้ความรู้สึก:
เหมาะกับภาพที่จะใส่ข้อความ
Prompt:
“subject on the right with clean negative space on the left”
ใช้ได้ดีมากกับ:
ใช้เส้นในฉากนำสายตาไป Subject
เช่น:
ช่วยสร้าง Depth
ใช้องค์ประกอบ เช่น:
ช่วยกรอบ Subject
เหมาะกับภาพ Cinematic
สามารถกำหนดสีหลัก
ตัวอย่าง:
ช่วยสร้าง Visual Consistency
ตัวอย่าง:
เหมาะกับ AI และ IT
ใช้:
ให้ Mood:
ใช้:
ให้ Mood:
ใช้:
เหมาะกับ:
ใช้:
เหมาะกับ Product Photography เพราะไม่รบกวนสีสินค้า
Mood คือความรู้สึกโดยรวมของภาพ
ตัวอย่าง:
ควรสัมพันธ์กับ Brand และ Content
ใช้:
เหมาะกับ B2B
ใช้:
เหมาะกับสินค้า Premium
ใช้:
เหมาะกับ Consumer
ใช้:
เหมาะกับ:
สามารถใช้:
แต่ควรระวังไม่ให้ภาพรก
“Photorealistic office worker using a laptop, modern office, eye-level medium shot, soft daylight from the left, shallow depth of field, neutral colors, professional mood.”
“Photorealistic black laptop on a modern desk, 45-degree camera angle, soft side lighting, office background slightly blurred, black and blue color palette.”
“Modern black desktop computer in a professional office, eye-level 45-degree view, natural daylight mixed with subtle monitor glow, realistic materials.”
“Close-up smartphone held naturally in one hand, soft daylight, shallow depth of field, office scene softly blurred, realistic photography.”
“Photorealistic black router on a dark pedestal, 45-degree angle, subtle blue rim light, dark gray studio scene, premium technology mood.”
“Photorealistic aqua blue LAN cable arranged neatly on a neutral gray surface, top-down 45-degree view, soft studio lighting, clean commercial composition.”
“Macro close-up of a transparent RJ45 connector, sharp metallic contacts, neutral studio background, soft side lighting, realistic product photography.”
“Wide-angle photorealistic data center, symmetrical rows of black racks, cool practical lighting, realistic cabling, deep depth of field, professional atmosphere.”
“Photorealistic modern office with one employee using an AI assistant on a laptop, over-the-shoulder medium shot, soft daylight, clean professional environment.”
“Cinematic but photorealistic technology workspace, dark gray environment, subtle blue side lighting, low-angle medium shot, realistic reflections and controlled contrast.”
“Minimal technology workspace with a single laptop, white and light-gray environment, soft natural light, centered composition and clean negative space.”
“Wide photorealistic IT office scene, subject on the right, clean negative space on the left, soft directional lighting, navy and gray palette, professional mood.”
“Photorealistic technology social image with one strong subject, high but natural contrast, simple background, clear composition suitable for mobile viewing.”
“Commercial product photography of [สินค้า], 45-degree camera angle, soft studio lighting, neutral background, realistic material texture and natural contact shadow.”
“Photorealistic portrait of [บุคคล], eye-level medium close-up, soft window light, natural skin texture, softly blurred office background.”
“Top-down view of a clean technology desk setup with laptop, smartphone, notebook and mouse, soft natural lighting, minimal organized composition.”
“Low-angle product hero shot of [สินค้า], dark studio background, subtle rim light, premium realistic commercial photography.”
“Close-up of [รายละเอียด] with sharp focus, shallow depth of field and soft directional lighting.”
“Wide shot of a modern office with employees working naturally, large windows, soft daylight and realistic professional atmosphere.”
Prompt:
“คง Subject, Camera, Composition และ Scene เดิม เปลี่ยน Style จาก Illustration เป็น Photorealistic”
ช่วยทดสอบสไตล์โดยไม่เปลี่ยนโครงภาพ
“คงทุกอย่างเดิม เปลี่ยนแสงจาก Natural Daylight เป็น Dark Cinematic Side Lighting”
ช่วยเห็นผลของ Lighting ชัด
“คง Subject, Scene และ Lighting เดิม เปลี่ยน Camera จาก Eye Level เป็น Low Angle”
เหมาะกับการสร้าง Variation
“คง Subject และ Camera Angle เดิม เปลี่ยน Scene จาก Home Office เป็น Modern Corporate Office”
“คง Subject และ Scene เดิม ย้าย Subject ไปด้านขวาและเพิ่ม Negative Space ด้านซ้าย”
เหมาะกับทำ Banner
“คงองค์ประกอบเดิมทั้งหมด ปรับ Lighting และ Color Palette ให้ Mood ดู Premium มากขึ้น”
ช่วยควบคุมสิ่งที่เปลี่ยน
ถ้าภาพยังไม่ตรง ให้แก้ทีละเรื่อง เช่น:
รอบ 1:
แก้ Lighting
รอบ 2:
แก้ Camera
รอบ 3:
แก้ Background
ช่วยหาสาเหตุได้ง่าย
Subject + Style + Light + Angle + Scene
ตัวอย่าง:
“Black laptop, photorealistic, soft blue side light, 45-degree angle, modern office.”
เหมาะกับงานทดลองเร็ว
Subject + Action + Style + Lighting + Camera + Scene + Mood
ตัวอย่าง:
“ผู้ชายกำลังใช้ Desktop Computer, Photorealistic, Soft Natural Light, Eye-level Medium Shot, Modern Office, Professional Mood.”
Subject + Action + Style + Lighting Direction + Camera Angle + Shot Size + Lens Feel + Scene + Background + Composition + Color + Mood + Constraint
ช่วยควบคุมภาพมากที่สุด
“สร้างภาพ [Subject]
Action:
[กำลังทำอะไร]
Style:
[Photorealistic / Cinematic / Minimal / 3D]
Lighting:
[ชนิดแสง]
Light Direction:
[ซ้าย/ขวา/ด้านหลัง]
Camera Angle:
[Eye Level / Low Angle / 45 Degree / Top View]
Shot:
[Close-up / Medium / Wide]
Lens Feel:
[Portrait / Wide / Macro]
Scene:
[สถานที่]
Background:
[รายละเอียดฉากหลัง]
Composition:
[Centered / Rule of Thirds / Negative Space]
Color Palette:
[สี]
Mood:
[อารมณ์]
ข้อกำหนด:
Template นี้ใช้ได้กับภาพหลายประเภท
“Photorealistic [Subject] in [Scene], [Lighting] from [Direction], [Camera Angle] [Shot Size], natural colors, realistic textures, [Mood] atmosphere.”
“Cinematic photorealistic [Subject], dramatic directional lighting, [Camera Angle], [Scene], controlled contrast, subtle film-like color grading.”
“Minimal [Subject] on a clean [Background], soft diffused lighting, simple composition, limited color palette and large negative space.”
“Commercial product photography of [สินค้า], [Camera Angle], soft studio lighting, clean neutral scene, realistic shadow and accurate material texture.”
“Photorealistic [Subject] working in a modern office, soft daylight, eye-level medium shot, clean realistic environment, professional mood.”
“Photorealistic technology scene with [Subject], dark gray and navy palette, subtle blue accent lighting, 45-degree camera angle, modern professional environment.”
ภาพเปลี่ยนแนวได้มาก
ไม่มีทิศทาง
Composition ควบคุมยาก
เช่น “อยู่ในที่ทำงาน”
ผลลัพธ์ไม่ชัด
ภาพดูรก
ไม่รู้ว่าอะไรทำให้ผลเปลี่ยน
ตรวจว่า:
ถ้าตอบได้ครบ Prompt จะชัดมากขึ้น
ใช้ลำดับ:
วิธีนี้ช่วยให้ควบคุมผลลัพธ์ได้เป็นระบบ
สูตรคือ:
Style → Light → Camera → Scene → Composition → Mood
หรือถ้ารวม Subject:
Subject → Style → Lighting → Camera → Scene → Composition → Mood
ตัวอย่าง:
“สร้างภาพ Notebook สีดำแบบ Photorealistic ใช้ Soft Blue Side Light มุมกล้อง 45 องศา อยู่ในสำนักงาน Modern วาง Notebook ทางขวา เว้น Negative Space ด้านซ้าย และใช้ Mood Premium Professional”
การสร้างภาพให้ตรงความคิดไม่จำเป็นต้องเขียน Prompt ยาวที่สุด แต่ต้องใช้คำที่ ควบคุมองค์ประกอบของภาพได้จริง โดยเฉพาะ Style, Lighting, Camera และ Scene
สำหรับผู้อ่าน comsiam สูตรที่ควรจำคือ “Style → Lighting → Camera → Scene → Composition” เมื่อห้าส่วนนี้ชัด แม้ Prompt จะไม่ยาวมาก ก็สามารถกำหนด Visual Direction ได้แม่นขึ้น
comsiam แนะนำให้สร้าง Prompt หลักหนึ่งชุด แล้วเปลี่ยนทีละตัวแปร เช่น จาก Eye Level เป็น Low Angle หรือจาก Natural Light เป็น Cinematic Light วิธีนี้จะช่วยให้เข้าใจว่าการเปลี่ยนแต่ละคำส่งผลกับภาพอย่างไร และช่วยสร้าง Prompt ที่แม่นขึ้นเรื่อย ๆ